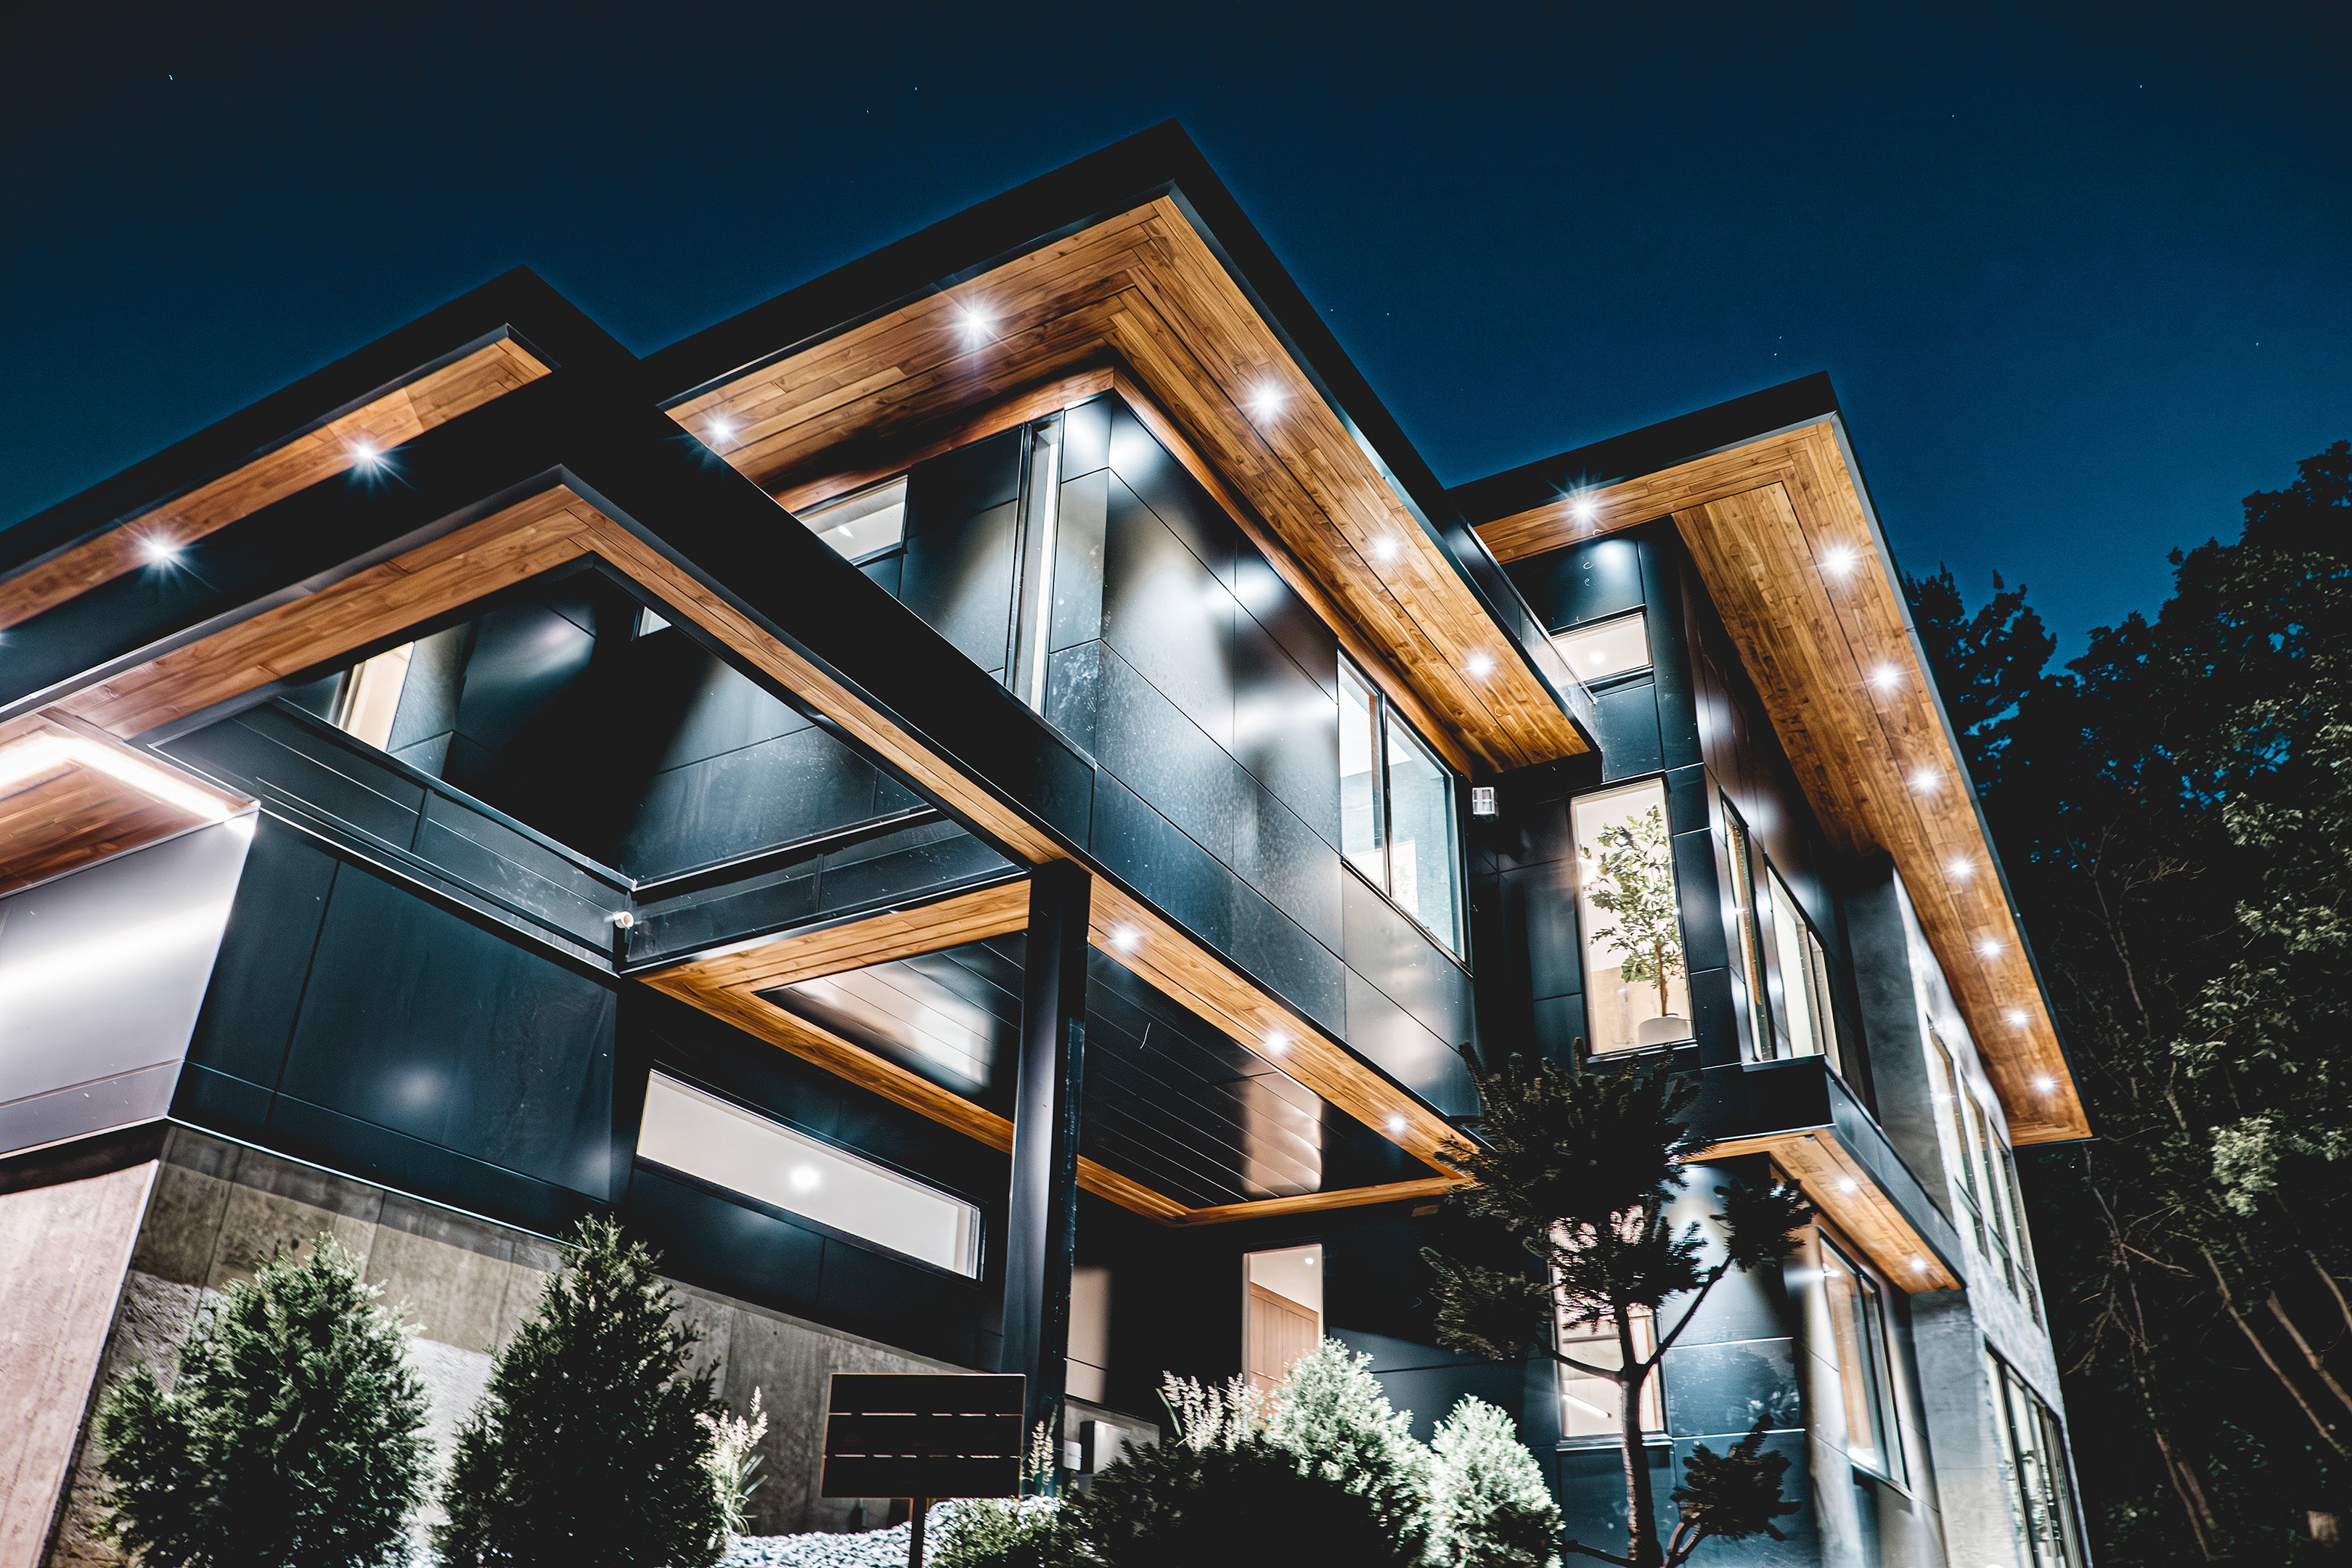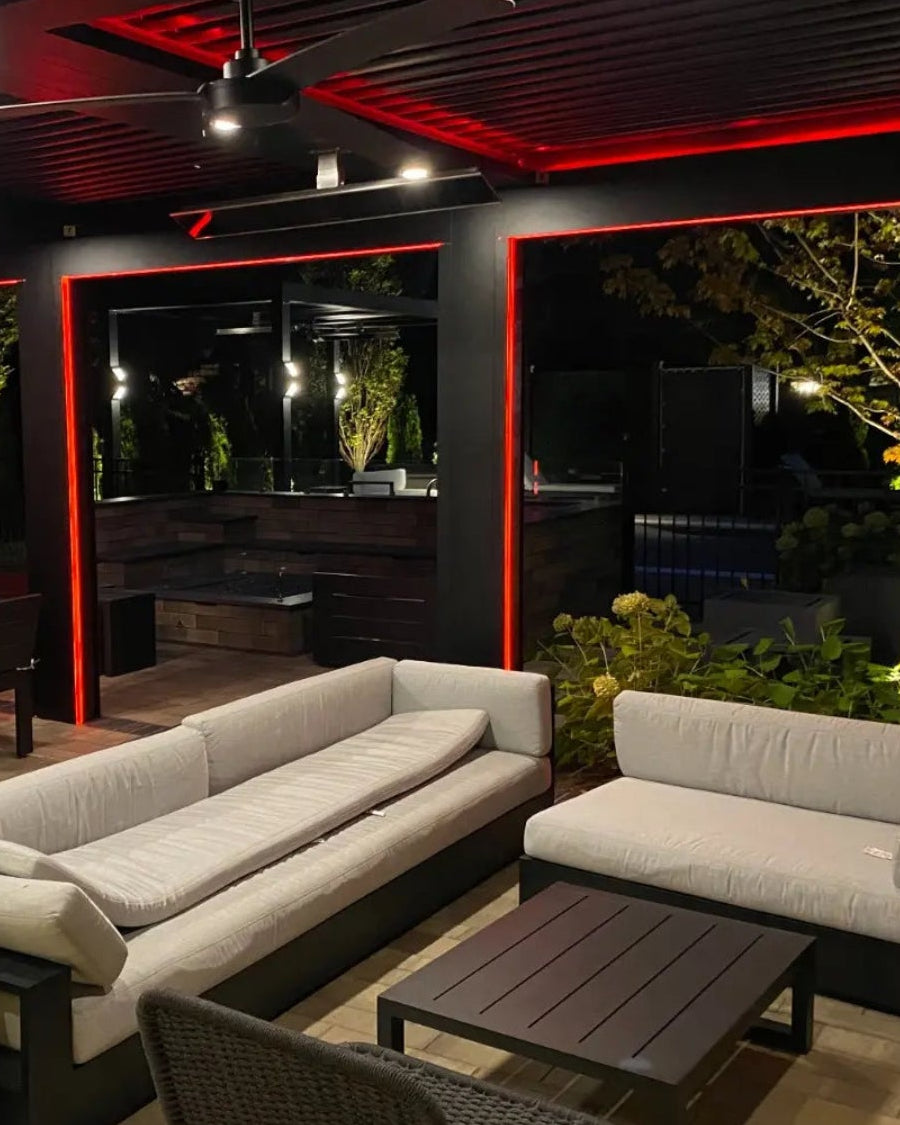
Transforming Outdoor Entertaining with Color-Changing LEDs
When a customer came to us with a complex pergola layout and a vision for zone-controlled color-changing lighting,
our design team mapped out a system that would be both installer-friendly and easy to operate long-term.

Lighting Products & Controls
The aspectLED Custom Solutions team worked with the customer to first determine placement for the 250 Watt LED Power Supply and the Wireless RGBW 4-Channel LED Controller with Channel Pairing. In this pergola, both were located at the end of the central beam chase so they could be serviced by ladder. It’s important to place power and control gear in a serviceable area; for bespoke layouts, see Custom OEM Product Manufacturing.
Next, the aspectLED team guided the customer to select W-Series RGBW Ultra-Bright Waterproof Strip Lights, a high-performance option ideal for outdoor use thanks to its IP68 rating. These lights provide color-changing effects with a true white tone for both functional and decorative illumination. Because each reel has a maximum run length of 16.4 ft, 22 AWG 5-Wire RGBW Extension Wire was used to connect a second reel and extend the lighting.

Since the full second reel of strip light was not needed for the first quadrant, the strip was cut at the marked cut line, and then professional-grade Permatex Clear RTV Silicone Adhesive and a Waterproof End Cap were used to seal the strip light.
Next in the installation was the second quadrant of the pergola, where a similar process was followed to the first quadrant. Another power supply and controller were added into the beam chase, the strip light reel was laid out, and then extension wires were used to reach the second part because the beam was longer than a one-reel length. From there, we mirrored what we did on the first half of the pergola to the second half.

After that, additional strip lighting was installed into the tracks along the sides of the pergola, as well as a claw section across the top beams. All strip lights were wired back to a central location, where we ran lead wire to connect the system. When planning wiring runs, it’s important to account for voltage drop by calculating the total wattage of all strip lights and determining the appropriate wire gauge needed to reach the power supply and controller, which, in this case, were neatly housed within the beam chase. For this installation, we divided the lighting into zones—each gutter corner as one zone and each track area as its own—to keep the system intuitive and easy for the customer to operate.
The next step was to mount the strip lights to the pergola. Since the W-Series RGBW Waterproof Strip Lights do not have adhesive tape on them, we used RTV silicone for a strong, weather-resistant bond and temporarily held the strips in place with tape while the silicone cured. This approach worked exceptionally well and contributed to a clean, professional-looking installation.