
One of the most common questions about LED lighting is: How do you install a puck light? This step-by-step guide will walk through the installation process to ensure a smooth setup.
What’s in the Box?
When opening a puck light package, the following components are included:
- The puck light itself, complete with an attached power cord
- Two small mounting screws
- An extension cord, which can be plugged in for extra length, or modified for direct wiring.
These lights are designed for surface mounting, meaning no recessed hole is required—they simply attach to the surface.
Getting Started: Tools Needed
Before beginning installation, gather the following tools:
- Drill (if necessary for cable management)
- Screwdriver
- Wire Strippers
- Wire Connectors
- Power supply (12V or 24V DC, depending on the light)
Mounting the Puck Light
1. Separate the Mounting Ring: The puck light consists of two parts: the main body and a mounting ring. To separate them, hold the ring and gently push the light out.
2. Manage the Power Cable: There are two options for running the power wire:
- Drill a hole in the cabinet to conceal the wiring inside.
- Use the built-in notch on the mounting ring to surface-mount the wire along the bottom of the cabinet.
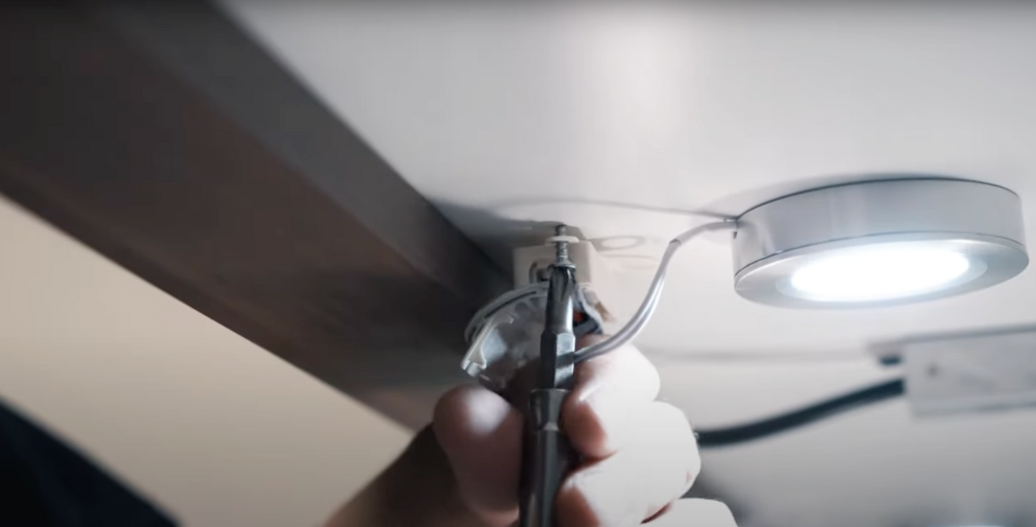
3. Position the Mounting Ring: Locate the two screw holes in the mounting ring. Attach to the underside of the cabinet using the provided screws.
Connecting the Power
Puck lights operate on 12V or 24V DC, so they cannot be connected directly to an AC outlet. A compatible power supply is required. For assistance with selecting power supply, refer to our power supply guide video.
Wiring the Puck Light
1. Using the Connector: The puck light comes with a connector that can be combined with the included cord if additional length is needed.
2. Direct Wiring: If the extension is unnecessary, the connector can be cut off to expose the low voltage positive (+) and negative (-) wires.
3. Identifying Wires: After cutting, two wires will be visible:
- The black wire (marked with a minus sign) connects to the negative (-) output on the power supply.
- The other wire (marked with lettering) connects to the positive (+) output on the power supply.
4. Splicing the Wires: Use wire strippers to expose the ends, then connect them using wire connectors.
Final Steps
Once wiring is complete, secure the puck light back into the mounting ring. Double-check all connections before powering on the system.
Enjoy the New Lighting!
The puck light is now installed and ready for use. Whether for under-cabinet lighting, display shelves, or accent lighting, these puck lights add a professional touch to any space. For additional questions, refer to the comments or check out other lighting tutorials.
If you want to watch the video on this topic, check it out here:


