
When working with LED lighting, smart home systems, or any low-voltage wiring project, knowing how to safely and correctly extend wires is critical – not just for functionality, but for long-term safety and code compliance. Whether you're a DIY enthusiast or a professional installer, sloppy or mismatched wire extensions can lead to voltage drops, shorts, overheating, and failed inspections. Also, it’s hazardous to have mismatched wires.
To make the process easier to remember and execute, think W.I.R.E.D.– a simple acronym that outlines the five core elements of a successful and safe wire extension. This guide breaks down each letter to help ensure your project is done right, up to code, and built to last.
W - Wire Count
Always match the number of wires exactly.
Before you extend any wire, count how many conductors (wires) are in the cable or bundle. If your fixture, controller, or transformer uses 3 wires (e.g., positive, negative, and ground), your extension must carry all 3 – no skipping or combining. This ensures both proper function and safety. Wire count mistakes can lead to circuit failures or leave essential safety grounds disconnected.
I - Insulation and Type
Use the correct wire type for your application.
Not all wires are created equal. You must match both the conductor material (usually copper) and the type of insulation. For example, if you're working inside walls or ceilings, choose in-wall rated wire. Match stranded or solid core wire depending on the original and ensure you're using stranded wire for flexibility or solid core for fixed runs. Always verify the insulation rating matches the environment.
R - Right Gauge
Prevent voltage drop by using the correct wire size.
American Wire Gauge (AWG) determines how much current the wire can handle. More importantly, it affects voltage drop over distance. The longer the run, the thicker the wire needed. Use a voltage drop calculator or reference the NEC wire gauge chart to determine the right size. Per the NEC, voltage drop should be no more than 3%. Using a wire that’s too small increases the resistance and will result in malfunctioning lights and overheating.
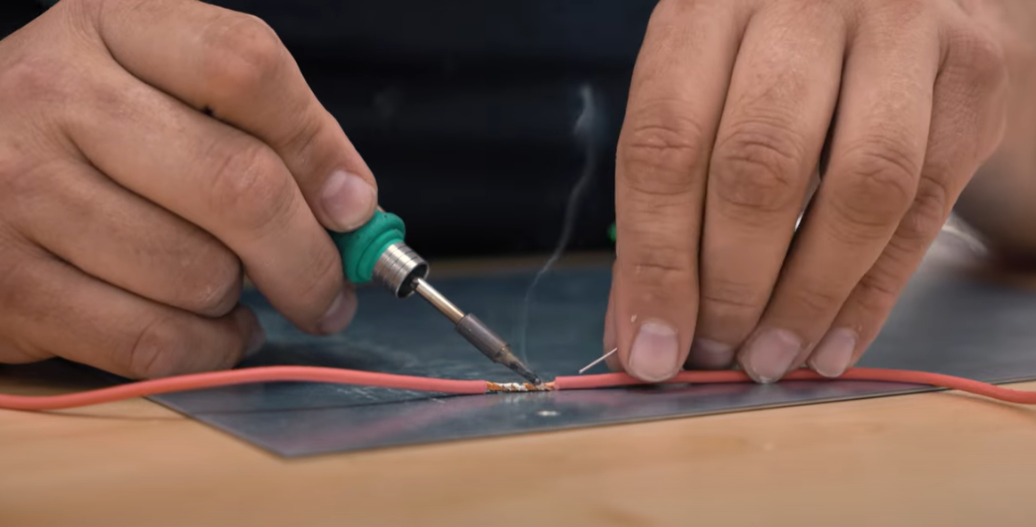
E - Ends Secured
Use proper splicing techniques to secure all wire connections.
Your connection is only as strong and safe as your splice. Always use reliable splicing methods such as wire nuts, Wago connectors, heat shrink solder sleeves, or terminal blocks. For higher voltage or non-Class 2 circuits, your splices must be housed in code-compliant junction boxes. Never just twist wires together and cover with tape – this creates a fire risk and fails inspections.
D - Do It to Code
Always follow the National Electrical Code (NEC) and local regulations.
Even in low-voltage systems, compliance with the NEC and your local Authority Having Jurisdiction (AHJ) is non-negotiable. This includes everything from how you support wires to how they're enclosed. If you're unsure, consult a licensed electrician. Remember, doing it to code ensures your installation is safe, insurable, and future-proof.
To Conclude: Remember W.I.R.E.D. for Every Extension
Extending wires isn’t just about making things reach – it’s about doing it safely, smartly, and in compliance with electrical standards. The W.I.R.E.D. acronym gives you a simple yet powerful checklist to make sure your next installation is correct from start to finish. Whether you're installing LED strip lights, connecting transformers, or expanding smart home circuits, remember:
- Wire Count
- Insulation and Type
- Right Gauge
- Ends Secured
- Do It to Code


