

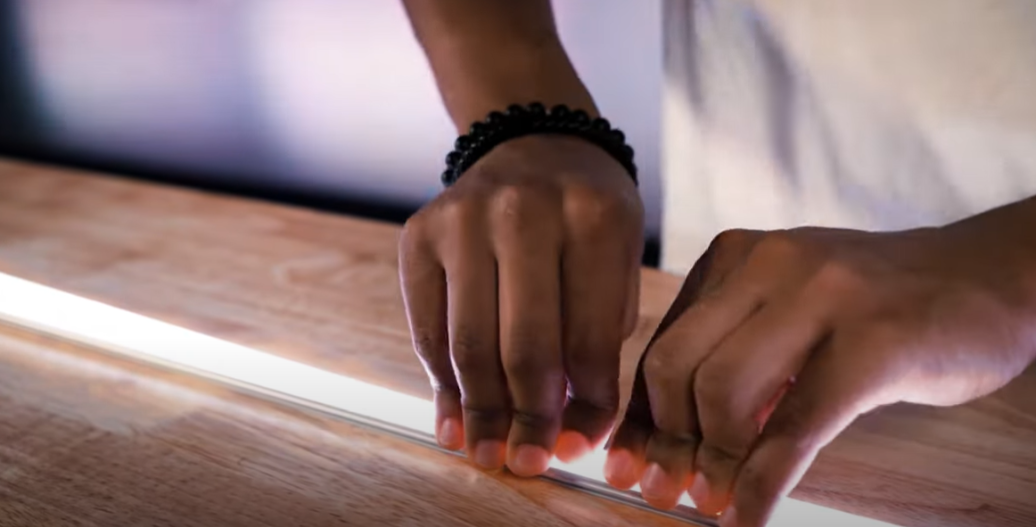

LED strip lighting is a popular choice for both homeowners and professionals looking to add energy-efficient, flexible, and customizable lighting to a space. Whether you're accentuating a kitchen, illuminating shelving, or lighting up a patio, strip lights can enhance both style and functionality. While LED strip lights may appear simple to install, improper installation can lead to performance issues, safety concerns, and reduced long-term reliability.
From planning, to installation, to testing the lights - we’ll walk through common mistakes made when installing LED strip lights and share expert LED lighting tips to help you avoid these mistakes.
Planning Mistakes That Cause Problems Later
1. Poor Planning and Incompatible Components
The first step in any lighting project should be planning - what you want to light, how you want to control it, and what components are needed to make that happen. If this step is rushed, it can lead to mismatched parts and installation headaches.
Common planning errors:
- Choosing incompatible LED strips, controls, and power supplies
- Skipping a wiring layout
- Forgetting about accessibility
- Using underpowered or non-scalable systems
2. Choosing the Wrong Type of LED Strip Light
Not all strips are created equal. It's essential to match the strip's performance to your lighting needs and installation environment.
Mistakes to avoid:
- Choosing strips without considering brightness levels (lumens), color temperature, or CRI
- Ignoring maximum run length
- Forgetting that waterproof LED strips are bulkier and may not fit every space
- Selecting strips that aren't suitable for outdoor or damp locations
3. Ignoring Control Compatibility
Different types of LED strips require different types of control. Overlooking this can leave you with a beautiful installation that doesn’t function properly.
Mistakes include:
- Using a traditional wall dimmer with RGB or tunable white strips
- Choosing a control system that doesn’t match your strip's requirements
- Overlooking app or remote compatibility
4. Incorrect Power Supply Selection
Choosing the wrong LED power supply is one of the most common mistakes.
Issues that arise:
- Using the incorrect voltage (12V vs. 24V) (DC vs AC)
- Underrating wattage requirements
- Selecting a non-dimmable power supply when dimming from a traditional switch
- Choosing a dimmable power supply when using a remote or app control
- Not accounting for space and heat dissipation
- Installing power supplies outdoors without proper enclosures
5. Poor Strip Light Layout Planning
Rushing into installation without planning the physical layout leads to cluttered, non-compliant, or hard-to-maintain setups.
Planning errors include:
- Installing the power supply in an inaccessible spot
- Ignoring NEC code requirements for serviceable and ventilated components
- Not considering heat buildup or the distance between components
- Failing to plan wiring routes or connector needs
Avoid Headaches with Proactive LED Strip Planning
To avoid common LED strip light installation mistakes, start by defining what you want to light and how you want to control it.
- Choose compatible strips, controllers, and power supplies that match your space, performance needs, and plans.
- Make sure your strip type fits the environment, brightness, and run length requirements.
- Use the correct controller/dimmer for your LED type.
- Pick a power supply with proper voltage and extra wattage capacity.
- Plan your layout to meet code, allow ventilation, and keep components accessible.
Smart planning ensures smooth installation and a reliable, scalable setup.
Installation Mistakes That Compromise Performance
6. Wiring Errors and Poor Connections
One bad connection can ruin an entire installation. It’s essential to wire correctly from the start.
Common issues:
- Reversed polarity
- Loose or faulty solder joints
- Poor connecting quick connectors
- Using the wrong wire gauge for long runs
- Not including enough wire conductors for RGB (4-conductor wire) or RGBW (5-conductor) strips
7. Improper Mounting and Adhesion
Even with the right strip and layout, poor mounting can lead to sagging strips, overheating, or outright failure.
Mounting Mistakes:
- Relying solely on adhesive backing
- Installing on dusty, oily, or uneven surfaces
- Skipping mounting clips or aluminum channels
- Blocking airflow around power supplies
8. Mishandling the LED Strips
LED strips are delicate electronic components. Rough handling can lead to premature failure.
What to avoid:
- Pulling or twisting strips during installation
- Stepping on them or bending them too sharply
- Mounting over tight curves or irregular surfaces
Protect Your LEDs with Proper Installation
To ensure a reliable LED strip light installation, proper wiring and handling are just as important as planning.
- Always use the correct wire gauge for your run length, and ensure the correct type of wire, especially for RGB or RGBW strips that require multiple conductors. Double-check polarity and make secure connections.
- During installation, handle strips gently; they’re delicate and can be damaged by pulling, twisting, or sharp bends.
- For mounting, prep surfaces with isopropyl alcohol and avoid depending solely on adhesive backings for rough or dirty surfaces.
- Use mounting clips or aluminum channels to keep strips secure, maintain airflow, and improve heat dissipation.
These steps help prevent performance issues and ensure your LED strip lighting system lasts.
Testing: The Step You Should Never Skip
9. Skipping Testing Before Final Installation
Nothing is more frustrating than finishing your installation—only to find that something doesn’t work.
Common mistakes:
- Mounting strips before powering them up
- Failing to test connections, dimmers, or remote functionality
Test It Like You'll Use It
Test your full setup before final installation. Plug everything in and test with the actual controller and power source you plan to use. Confirm that your lighting works exactly as intended.
Plan, Install, and Test for Success
Installing LED strip lights doesn’t have to be difficult, but skipping steps or rushing through the process can lead to expensive do-overs. Take time to plan your LED strip light installation thoroughly, choose compatible and quality components, and test before mounting. Whether you’re working on a DIY LED installation or a large-scale project, avoiding these common mistakes will ensure your lighting is reliable, scalable, and stunning.


