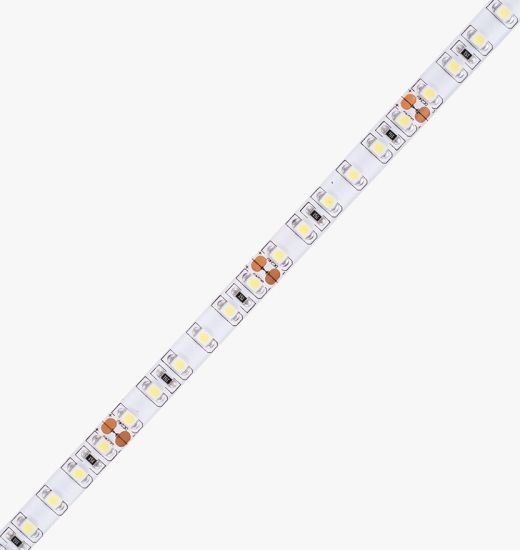
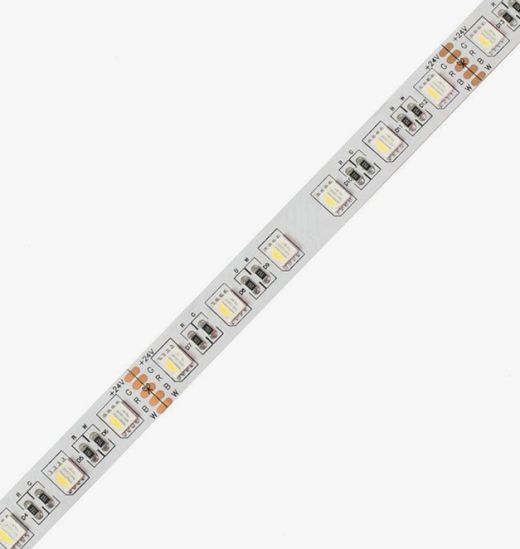
Troubleshooting Strip Light Problems

LED strip lights have gained immense popularity due to their versatility, vibrant colors, and ability to transform any space. With their ease of installation and variety of sizes and colors available, LED strip lights have become a go-to choice for homeowners and businesses looking to add a touch of ambiance or enhance their decor. However, like any electrical device, LED strip lights can sometimes encounter issues that may hinder their performance. Fear not, as aspectLED, a leading provider of LED strip lights, has extensive experience in troubleshooting these problems. In this comprehensive guide, we will delve into the most common issues faced by LED strip lights and provide you with step-by-step solutions to help you get your lights shining brightly once again.
Safety First!
Before we dive into the troubleshooting process, it is important to prioritize safety. While low voltage DC electronics, like LED strip lights, are generally considered safe and have a low risk of shock, it is always better to be safe than sorry. We strongly recommend turning off or unplugging the power supply before attempting any troubleshooting. Additionally, if you are uncertain about any step or facing complex issues, it is advisable to seek assistance from a knowledgeable professional who can guide you through the process. If you not sure when to call up a certified electrician to help you with your project, check out this helpful guide here.
What to Do When Your LED Strip Doesn't Light Up
You've gone through the installation process, carefully connecting all the components, eagerly flipped the switch, and… nothing. Don't panic. Let's run through some checks to troubleshoot this issue:
Double-check the compatibility of the power supply:
Start by ensuring that the voltage and current rating of your power supply match those of the LED strip. Mismatched ratings can prevent them from working together. You can easily find this information on the back of the power supply unit and at the LED strip connection points. If you are not sure how chose a power supply that is compatible for your project, we got your back with this guide here.
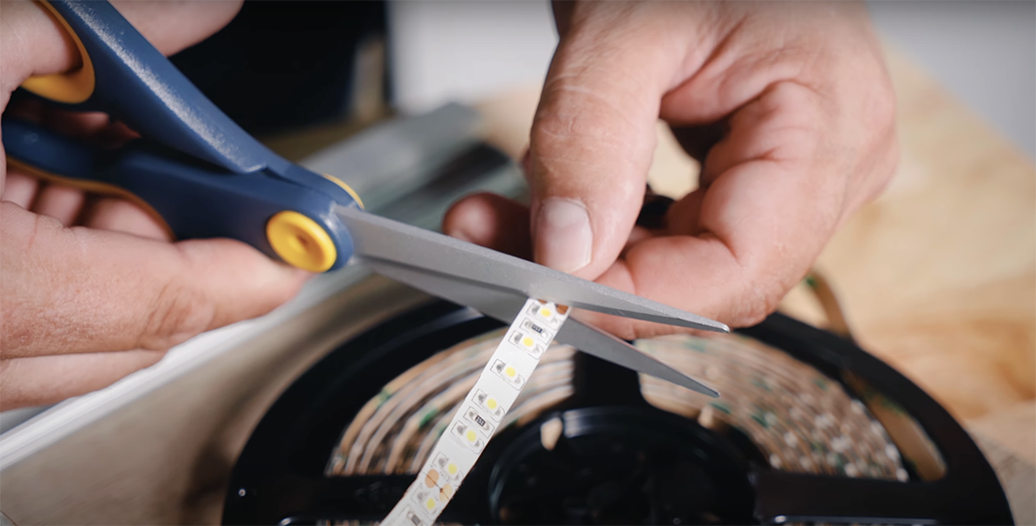
Cut at the appropriate cut lengths
Verify the functionality of the power supply: Use a multimeter to measure the voltage across the output wires of the power supply. If the measured voltage is lower than the specified rating, it is possible that the power supply is the cause of the issue.
Examine additional accessories on the circuit:
Sometimes, optional accessories such as dimmers or controllers can interfere with the proper functioning of the LED strip. Try removing these accessories temporarily to see if the LED strip lights up without them. If it does, the issue may be with the accessory or its connection.
Check for loose connections:
Take a thorough look at all connections, ensuring that all connectors and wires are securely fastened. Pay special attention to solderless connectors, as they can sometimes be the cause of contact failure. Maybe consider using our NEW connecters that work that have a much stronger connection then other strip light connecters our there.
Inspect for short circuits:
Look for any visible signs of short circuits. If you have soldered your own wires, it is possible that the positive and negative wires have accidentally touched, resulting in a short circuit.
Test for hidden short circuits:
Use a multimeter to perform a resistance test along the length of the LED strip. This will help you identify any hidden short circuits that may be causing the issue.
Is Your LED Strip Dim at One End?
Review your max run-length: Make sure that you have not connected an LED strip that is too long for the power rating of the sections closer to the power source. Overloading the circuit can cause a voltage drop towards the end. For a more in depth overview of max run-length, you can read about it here.
Check for potential electrical resistance issues:
Poor electrical contact or corroded copper can increase resistance, leading to a voltage drop. Inspect the connections to ensure they are clean and secure.
Measure the voltage along the length of the LED strip:
Use a multimeter to measure the voltage at various points along the LED strip. If you observe a decrease in voltage the further away you are from the power source, it indicates the presence of a voltage drop.
LED Strip Losing Brightness Over Time?
If you notice that your LED strip is gradually losing brightness over time, there are two possible causes to consider: a drop in input voltage or the LEDs themselves losing brightness. Here's what you can do to address these issues:
Check the input voltage:
Measure the input voltage to ensure that it is within the expected range. If the measured voltage is lower than the specified rating, you may need to correct your wiring or replace the power supply. A lower input voltage can result in decreased brightness.
Assess the condition of the LEDs:
LED lights can gradually lose brightness over time due to aging or defects. If you have ruled out the input voltage as the cause, it may be necessary to replace the LED strip altogether.
LED Strip Adhesive Not Sticking
If you notice that your LED strip is starting to sag or fall, it is likely that the adhesive tape is not providing adequate adhesion. To resolve this issue, you can try the following solutions:
Apply a new layer of double-sided tape:
Clean the back of the LED strip and the surface where it will be mounted. Then, apply a fresh layer of double-sided tape to ensure a strong bond between the LED strip and the mounting surface.
Consider alternative mounting methods:
If the adhesive tape continues to fail, aluminum mounting channel mounting with brackets and screws for a more secure and permanent solution. Mounting channel provide additional stability and prevent the LED strip from detaching over time. If you need a thorough installation guide for aluminum channel, you can watch this video.
This is just one problem that we covered in another article, if you want 7 more tips for a successful strip light installation, have a look at that article.
Sections of LED Strip Not Lighting Up
If you notice that certain sections of your LED strip are not lighting up, it is possible that there is an open circuit in one of the sections. Follow these steps to troubleshoot this issue:
Check the solder joints:
Inspect the solder joints along the entire LED strip. Look for any loose or damaged connections. In some cases, reheating the solder joints and ensuring a secure connection can resolve the open circuit problem.
Still Can't Fix Your Issue?
Even with the troubleshooting steps provided, some LED strip issues may be more complex or require professional assistance. Here at aspectLED, we understand that problems can arise, especially with budget LED strip lights. We are here to help. Our team of experts is dedicated to finding the best replacement options for you. Get in touch with us, and let us work together to get your space beautifully illuminated once again.
LED strip lights are a fantastic lighting option that can transform any space with their vibrant colors and versatility. However, like any electronic device, LED strip lights may encounter issues that can dim their shine. By following the troubleshooting steps outlined in this guide, you can address the most common LED strip problems. Remember to prioritize safety, double-check connections, and seek professional assistance when needed. With the help of aspectLED and the knowledge gained from this guide, you will soon have your LED strip lights illuminating your space flawlessly once again. Trust in our expertise and dedication to quality as we guide you through the LED strip troubleshooting process. With our US-based operations and fast shipping times, you can have peace of mind knowing that you are in good hands with our team of LED lighting experts. Choose aspectLED for all your LED lighting needs and let us help you bring light to your bright ideas.
You Might Also Like
-
 22, Sep, 20237 Tips for Strip Lighting Installations
 -
 01, Sep, 2023What is Maximum Run Length?
 -
 16, Aug, 2023Product Overview: N-Series (Narrow) LED Strip Lights